We all hate it, that feeling of utter helplessness when we are sitting at home getting ready to watch our latest show and bang, there goes the power. The moans from across the neighbourhood ring out as we all let out a cry of desperation as we sit in the darkness. This is made even worse as your neighbours’ generator kicks into life.
What are you supposed to do for the next two to four hours with nothing to do?
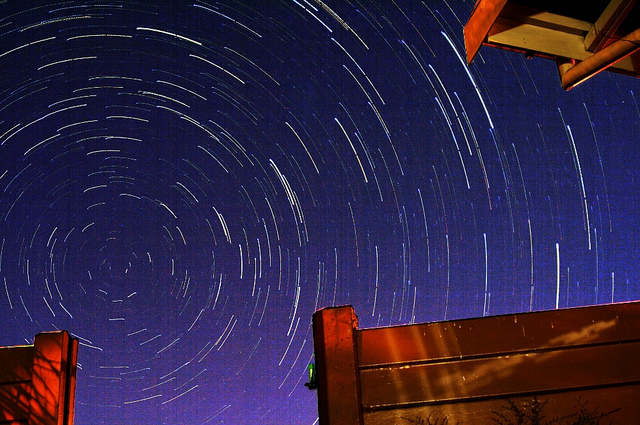
As a photographer this is the perfect time to get out your gear and play. Another challenge through which you can improve your art. Why not use the darkness to get an amazing pic of star trails, like this.
The biggest problem with living in a city is that the ambient light makes it pretty much impossible to shoot star trails. Street lighting will almost certainly overexpose your images to such an extent that they are going to look really bad.
Loadshedding eliminates this issue, because there is now no ambient light.
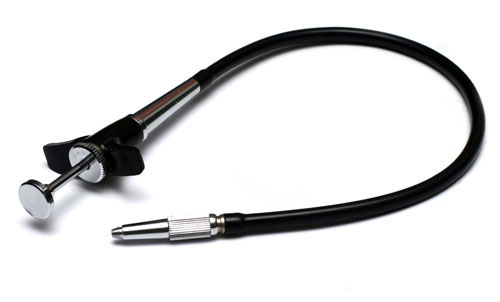
To shoot star trails you will need the following; a camera capable of manual focus, manual exposure and a tripod. You’ll want a cable release too – this will let you open the shutter of the camera without touching it and causing it to wobble. Many modern cameras have infra-red remotes or smartphone apps that will give you the same control though.
To prepare for this shoot it is a good idea to go and pick your spot when the lights are still on, you can do this at any time. Go out into your garden, or get on your roof and see if you perhaps have a great cityscape view from up there. You can even set something up in your garden that you can leave up till the moment arrives.
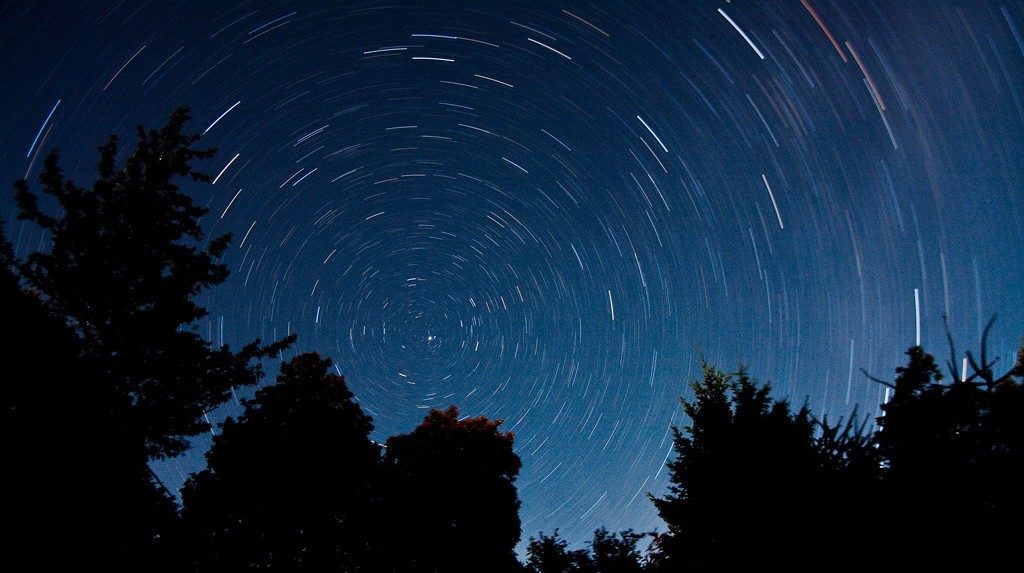
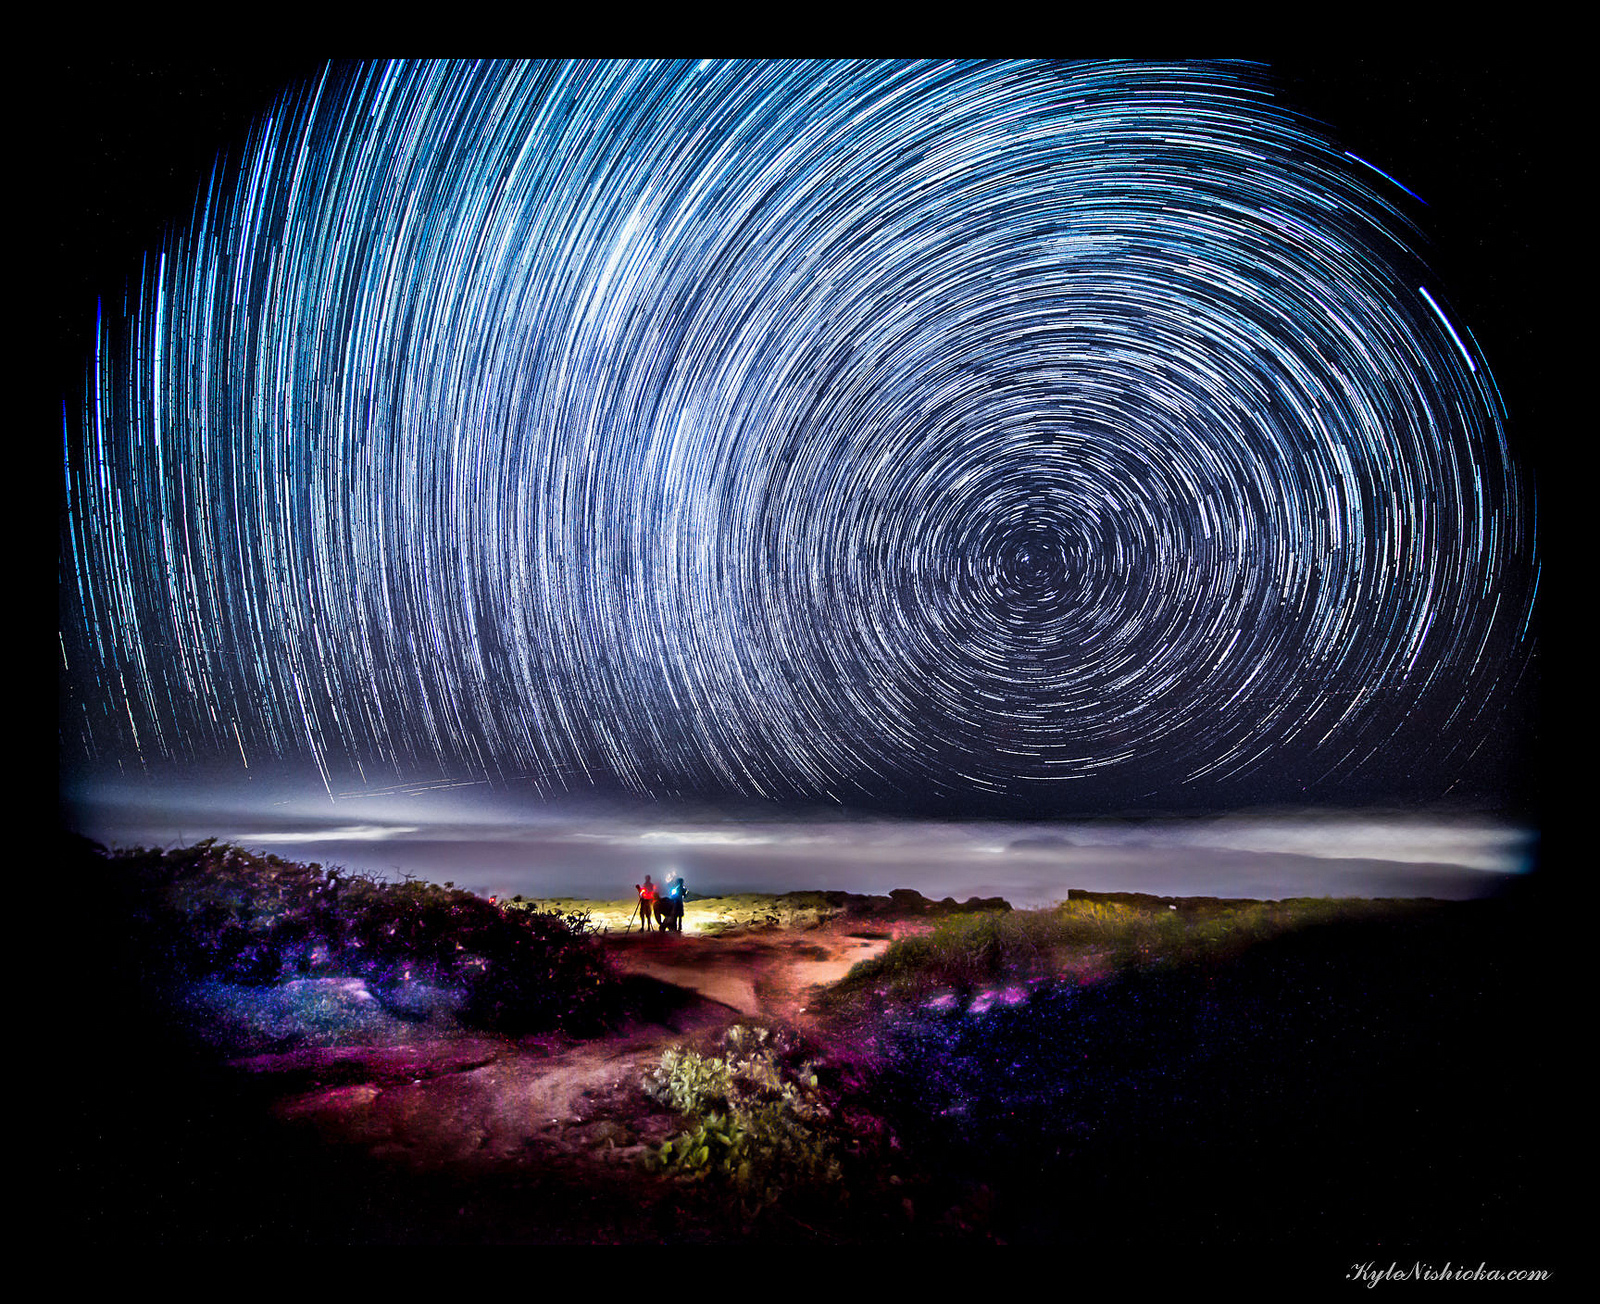
The best shots have something static in them which can frame the image and provide scale. Pick a tree or the side of your house, anything will do, it just needs to anchor the bottom or side of your image.
Then, when the power goes off and there’s a reasonably clear night sky, set your camera to Manual Mode (M). Open the aperture up wide: somewhere between F4.0 and F5.6 should do. Then increase the shutter speed – past the normal 125, 250 etc right up past 1″, onwards past 30″ until the display shows Bulb.
Bulb mode allows you to control how long the shutter opens manually. So long as you’re holding the shutter release down, the shutter stays open.
White balance
Play around with your white balance till you get something that you like, in urban areas Tungsten is a good idea because even if most of the lights are out, there will still be a little bit of light pollution. Using Tungsten will cool your colour to a blue tone.
Next up, set the sensitivity of your camera. Ideally, this should be as low as possible to minimise noise in the frame and keep your star trails sharp. Go for ISO100 if you can.
Next you will want to set your focus to manual and focus your lens on infinity (this is the symbol on your lens that looks like the number 8 on its side). Some cheaper lenses don’t have distance markings on the lens and this will make things a little different. In this case use a torch to light up something as far away as possible and use your auto focus to focus on this point. Once focus is achieved switch the camera to manual focus and don’t touch it again.
The last thing you need to worry about is noise reduction; many of the newer cameras have a long exposure noise reduction function. This takes another frame immediately after a long exposure, without opening the shutter. This is a “Dark Frame” and this image is subtracted from the exposed frame to supposedly give you a perfect exposure. This is a time consuming process because the “dark frame” takes as long as the first exposure, so if you made an hour exposure, then it would take another hour for the dark frame. The big problem here is that the lights could come back on and ruin your image completely. Go into your menu and turn this feature off, you don’t need it.
Everything is now done on the camera, now you just need to lock it onto your tripod, make sure your strap and cable release are not in frame, and if it is windy that they can’t blow into frame. Your preparations are all done, so grab hold of the cable release and fire away.
Hold it down
The tricky part here is holding down the shutter release long enough to capture the movement of the night sky. 20 minutes is OK, an hour is better. So you may want to use some tape to hold down the release while you go back inside. Just remember not to walk in front of the camera.
And you can produce amazing images, like this one by Vernon Swanepoel, taken in Windhoek (and licensed under Creative Commons on Flickr).